
Site Copyright 2011-2018 Hallys-Custom-Hats.com - All Rights Reserved
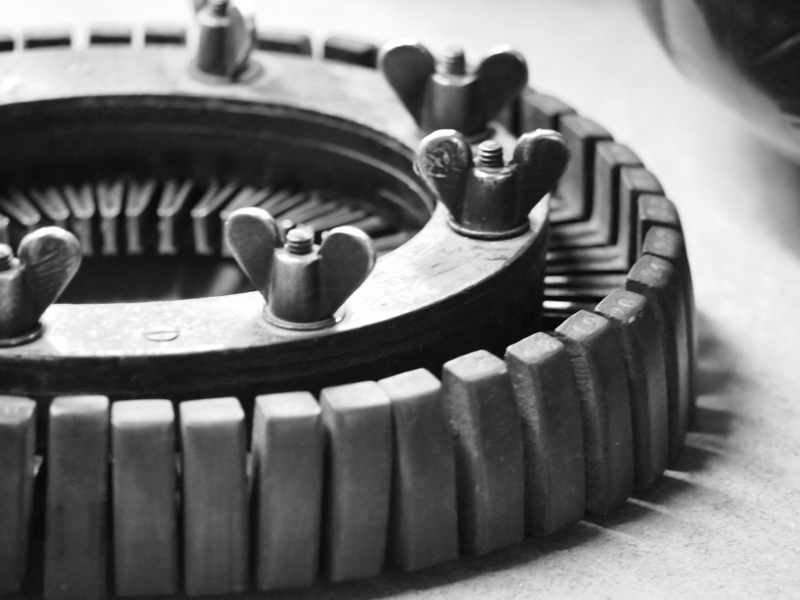
Taking Your Measurement is the first step in making a custom hat. This is done with a Conformateur & Formillion, which are tools hatters use to measure the precise shape of a person's head. In some cases people cannot see me in person for their head fitting. Alot of times my customers might not even be in the same state, or, in some cases, the same country, so I have a method you can use at home to get proper measurements.

Step 1: Head
Measurement
Step 2: Choosing A Hat Body
With this step I begin by selecting a Raw Hat Body based on what type of X Hat you want. Most hats are a beaver fur blend. I make 7X up to 1,000X. A 100X hat is pure beaver. A 200X is a beaver & cashmere blend. Cashmere is a very durable hair like the beaver hair, but smaller in diameter making the hat lighter in weight.
Step 3: Blocking
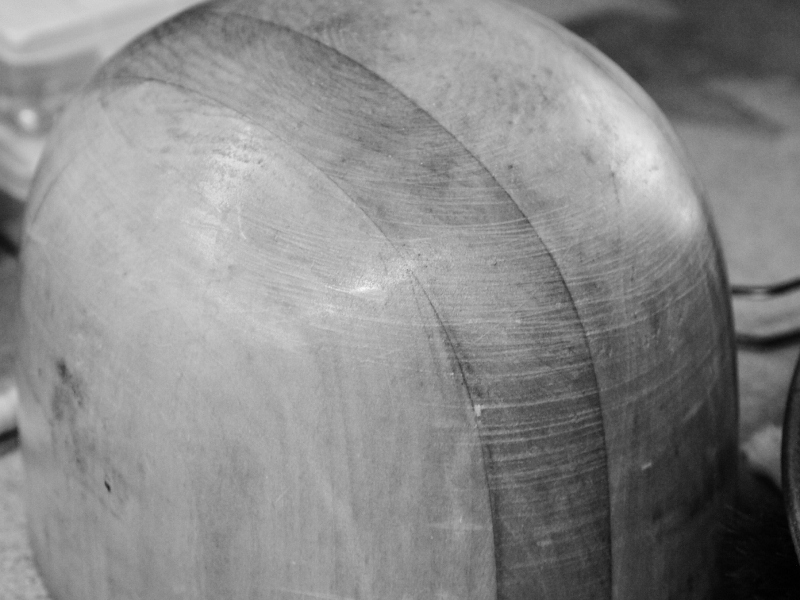
Blocking is the process in which a wooden block mold is placed into the crown of the Raw Hat Body and steamed to get a certain crown shape. Once the felt in the crown area has streatched properly it is removed from the steam, then I tie off and shape the base of the crown to create a nice 90 degree angle where the brim meets the crown.

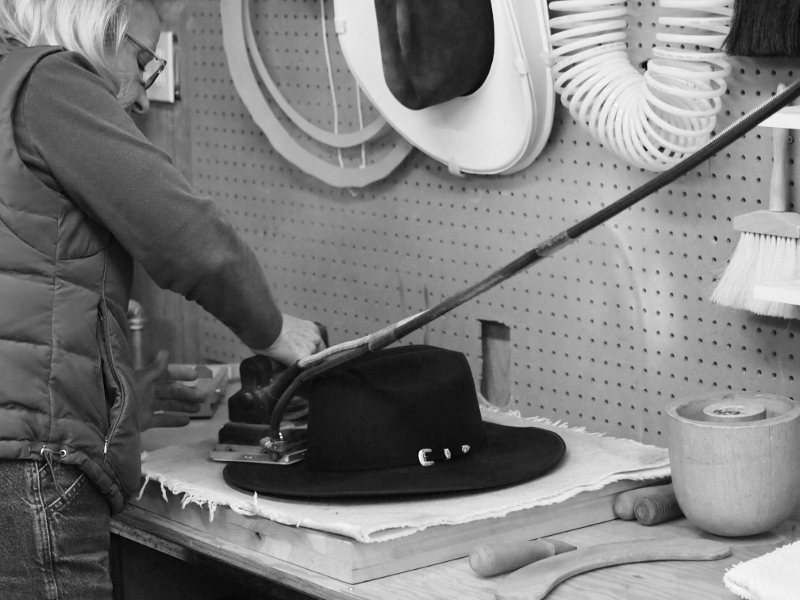
Step 4: Flattening the Brim
This is the step where I spritz the brim with a little water and take an iron to the brim. This can take up to 45 minutes in order to get the brim nice and flat and even.

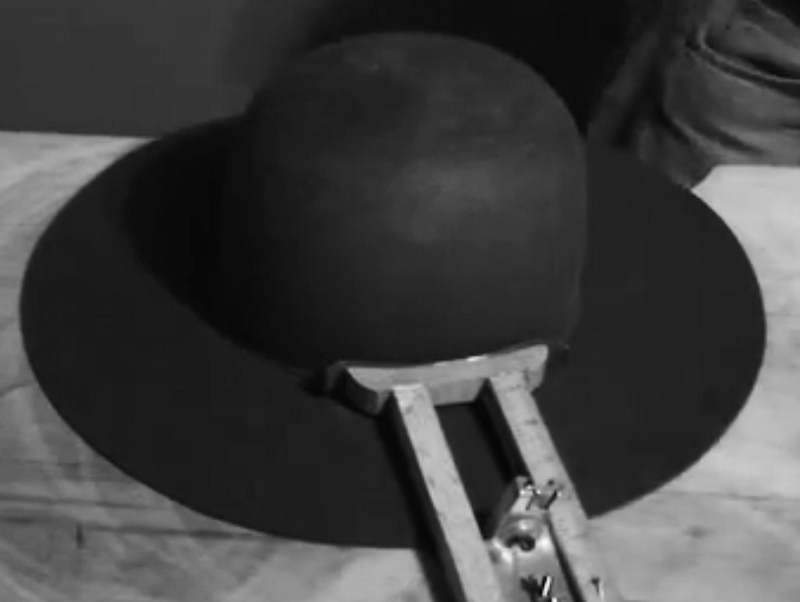
Step 5: Trim, Sand, & Shape
Once the brim has been flattened, I trim the brims outside edge to the desired brim size. The next thing I do is sand the hat and shape the desired crown crease.
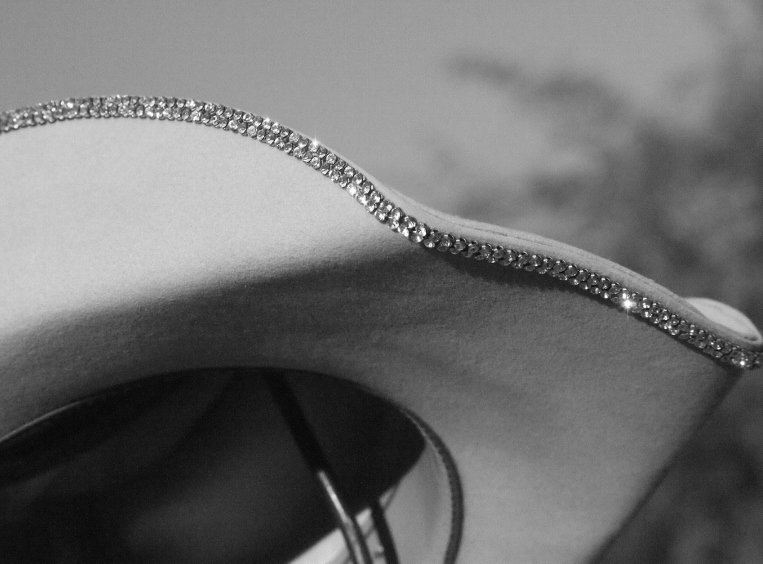
Step 6: Customizing
Any special hat bands, rhinestones, stitching, or brim decorations are added for your unique look.

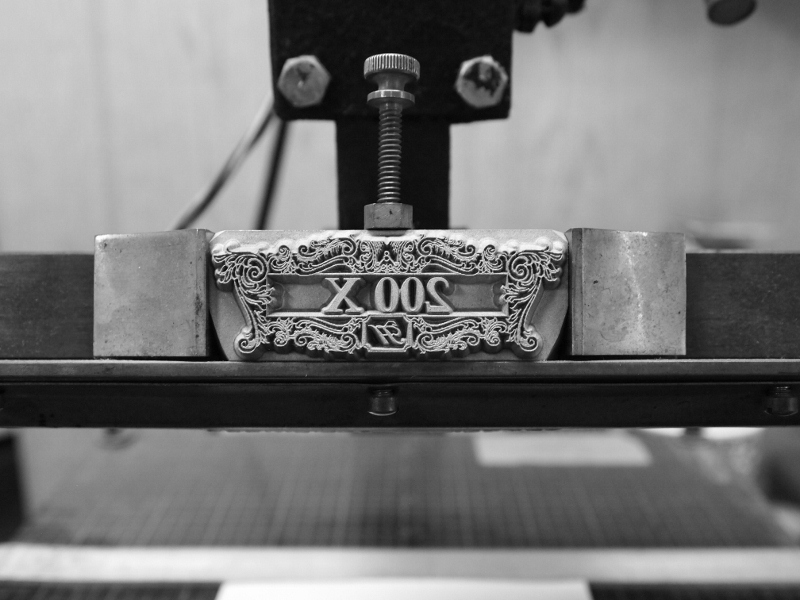
Step 7: Inner Lining & Stamp
A shiney new lining is added and the inner head band is stamped with a makers mark & the X number.
Step 8: Bag & Ship
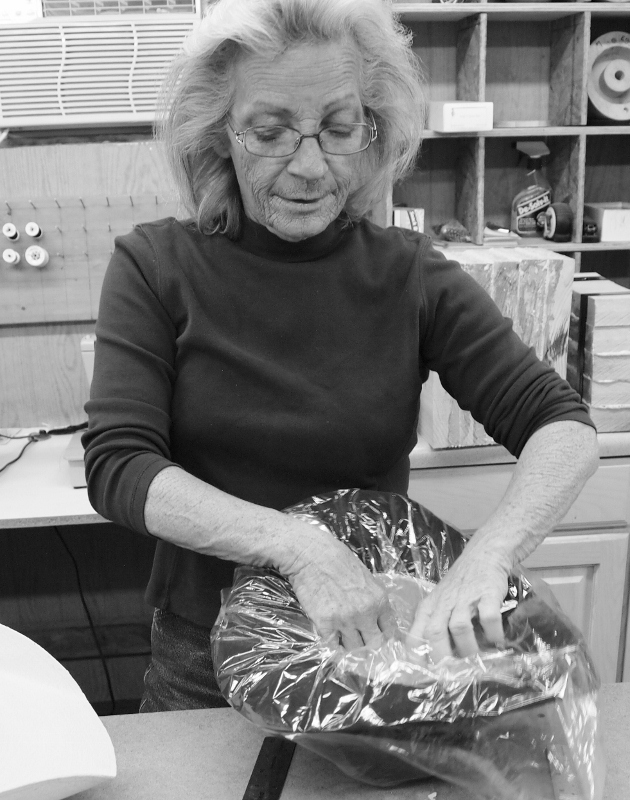
I always put finished hats in a clear new plastic bag, then ship them to the customer or wait for the customer to pick them up.

Custom Hat Process